Are you looking for an easy, step-by-step guide on how to connect your TV to your laptop wirelessly? You’ve come to the right place! Connecting your TV and laptop is a great way to share content from one device to the other, providing you with more options for streaming, gaming, and more. Here, we will take you through the steps of connecting your TV to your laptop wirelessly.
The first step to connecting your TV and laptop wirelessly is to make sure that both devices are compatible. You will need to check the owner’s manual for the TV and laptop to ensure that the devices can connect. Next, you will need to purchase the appropriate adapters if necessary in order to bridge the connection. To do this, you may need a device such as Google Chromecast or an Apple TV. After connecting the appropriate adapters, you will then need to check that the connection is stable and working correctly.
Connecting a Wirelessly Enabled TV
Are you looking for an easy step-by-step guide on how to connect your wirelessly enabled TV to your laptop? You’ve come to the right place! With this guide, you’ll be up and running in no time and you won’t even have to worry about wires and cables.
Start by powering on your TV and laptop. Most newer wirelessly enabled TVs come with an in-built Wi-Fi adapter. Use the TV’s built-in Wi-Fi connection to access your router’s wireless network. Then, go to the input settings on your TV and choose the wireless connection.
Next, set up a connection between your TV and your laptop. Your laptop should detect the wireless connection you have set up on the TV. If your laptop is connected, you can start streaming media from your laptop to the TV.
Now, all you have to do is open the media player software of your choice. You can use a program like VLC player or Windows Media Player to start streaming the media you have stored on your laptop to the TV. You can also use Youtube, Hulu, Netflix, and other streaming services to watch your favorite shows.
Lastly, to make sure that the connection between your TV and laptop is secure, you can configure the connection setting on your TV and laptop to use a password. This will prevent unauthorized access to your TV or laptop, ensuring that your data is safe and secure.
Now that you know how to connect your wirelessly enabled TV to your laptop, it’s time to enjoy all the great content and shows you can access. With this easy step-by-step guide, you won’t have any trouble setting up your devices and you can start streaming content in no time.
Installing the Necessary Software
Want to wirelessly connect your laptop to your TV? You’ll need to first install the necessary software, and we’ve got a step-by-step guide to help you out below.
1. Start by gathering up all of the necessary hardware including cables and drivers (if applicable).
2. Make sure your laptop and TV are compatible with the technology you’ll be using to connect them wirelessly.
3. Download the relevant software onto the laptop, such as an app or media player.
4. Install the software by following all of the instructions provided in the download package.
5. Continue to follow any additional instructions that are provided for connecting the laptop to the TV.
6. Once the software is successfully installed, you should have no problem connecting the laptop to the TV with a wireless connection.
That’s it! Your laptop is now connected wirelessly to your TV – easy, right?
Finalizing the TV Wi-Fi Connection
Looking to wirelessly connect your laptop to your TV with Wi-Fi? It’s easier than you’d think! Here, we’ll provide you step-by-step instructions to finalize the TV Wi-Fi connection in no time.
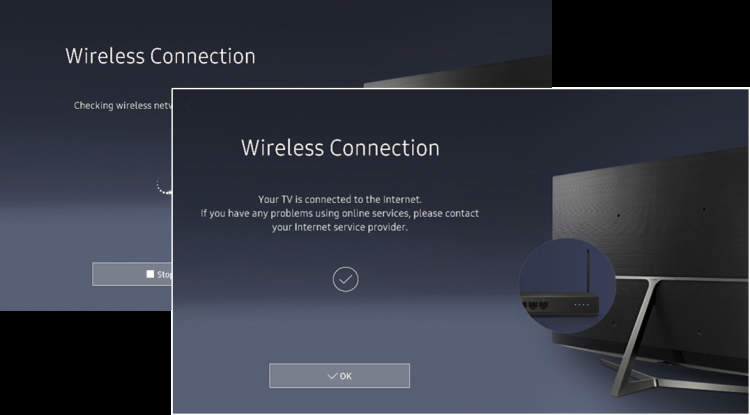
First, ensure that your TV is connected to the same Wi-Fi network that your laptop is connected to. This is the initial step that is critical to connecting the two devices wirelessly.
Once your devices are connected to the same Wi-Fi network, you need to enable the network sharing option. This can be done by going to the Network and Sharing Centre in the control panel of your laptop.
After enabling the network sharing option, scroll the list of options down to single the one that reads ‘allow other network users to connect through this computer’s internet connection’. Then click ‘OK’ to save your selection.
You can now connect the TV and laptop by linking an HDMI cable. Once the two devices have been linked, leave them connected to one another and proceed to the next step.
Next, on your TV, select the Wi-Fi name of the laptop that you are wanting to connect to the TV. Selecting this option will initiate the connection between the devices.
Finally, reconfirm the authentication of the connection to finalize the TV Wi-Fi connection process.And that’s it! Your TV is now connected to your laptop wirelessly – all you need to do is start streaming your favorite content!
Conclusion
In conclusion, by following this easy step-by-step guide, you can wirelessly connect your laptop and TV without any hassle. Whether you’re trying to stream a movie or show, watch online content, or mirror your laptop onto the big screen, you’re sure to enjoy the convenience and benefit of being able to connect your laptop to your TV wirelessly.